Interactive Screenshots with Web Bundles
20 Aug 2020 · 6 min read
What?
WARNING: This article is about technology that is highly experimental and still in development - things could change, break or never get released to the public. (20. Aug. 2020)
Screenshots are useful for giving someone a quick impression of a website or web app. Unfortunately, screenshots are not enough to communicate the feel and usability of a website.
Many things cannot be shown on screenshots, especially when it comes to interactive elements like an image gallery, a web form or animations. One possible way out of this is to capture a video of the website, but usually that can't cover everything and you may end up with multiple videos.
But there is a solution! 🎉 Google has introduced a new technology in 2019 called "Web Bundles".
A Web Bundle stores all HTML, CSS, JavaScript and other assets in a single shareable file. This makes it possible to share a Website just like a PDF or Word document, by simply sending a file.
The website then works completely offline and is still interactive. (Interactive of course only as long as it doesn't need any data that is not included in the bundle - like search results or something like that)

It is perfect to share a website which is still under development or that no longer exists. Imagine sending a file to the customer to show him the current development status or a portfolio with interactive sites instead of screenshots.
Step 1: Install the needed software
Let's look at how we can create our first interactive screenshot. (respectively Web Bundle) To create it, we need an application that converts HAR files into the Web Bundle format.
We will use software which is written in Go, so we have to install Go first. Under Arch or Manjaro Linux you can type in your terminal
pacman -Ss go
When this is done, you can install the actual software with the following command:
go get -u github.com/WICG/webpackage/go/bundle/cmd/...
(Yes really with the three dots at the end)
The actual software contains the applications "dump-bundle", "gen-bundle" and "sign-bundle".
We will only need the gen-bundle application in this article. With sign-bundle you could sign the Web Bundle and with the dump-bundle application you could check which data is included in a Web Bundle file.
Step 2: Create the HAR file
So now that we have the necessary software, next we have to tell the application which pages or data it should bundle for us.
One way to do this is to use an HAR file which contains all server requests and server responses.
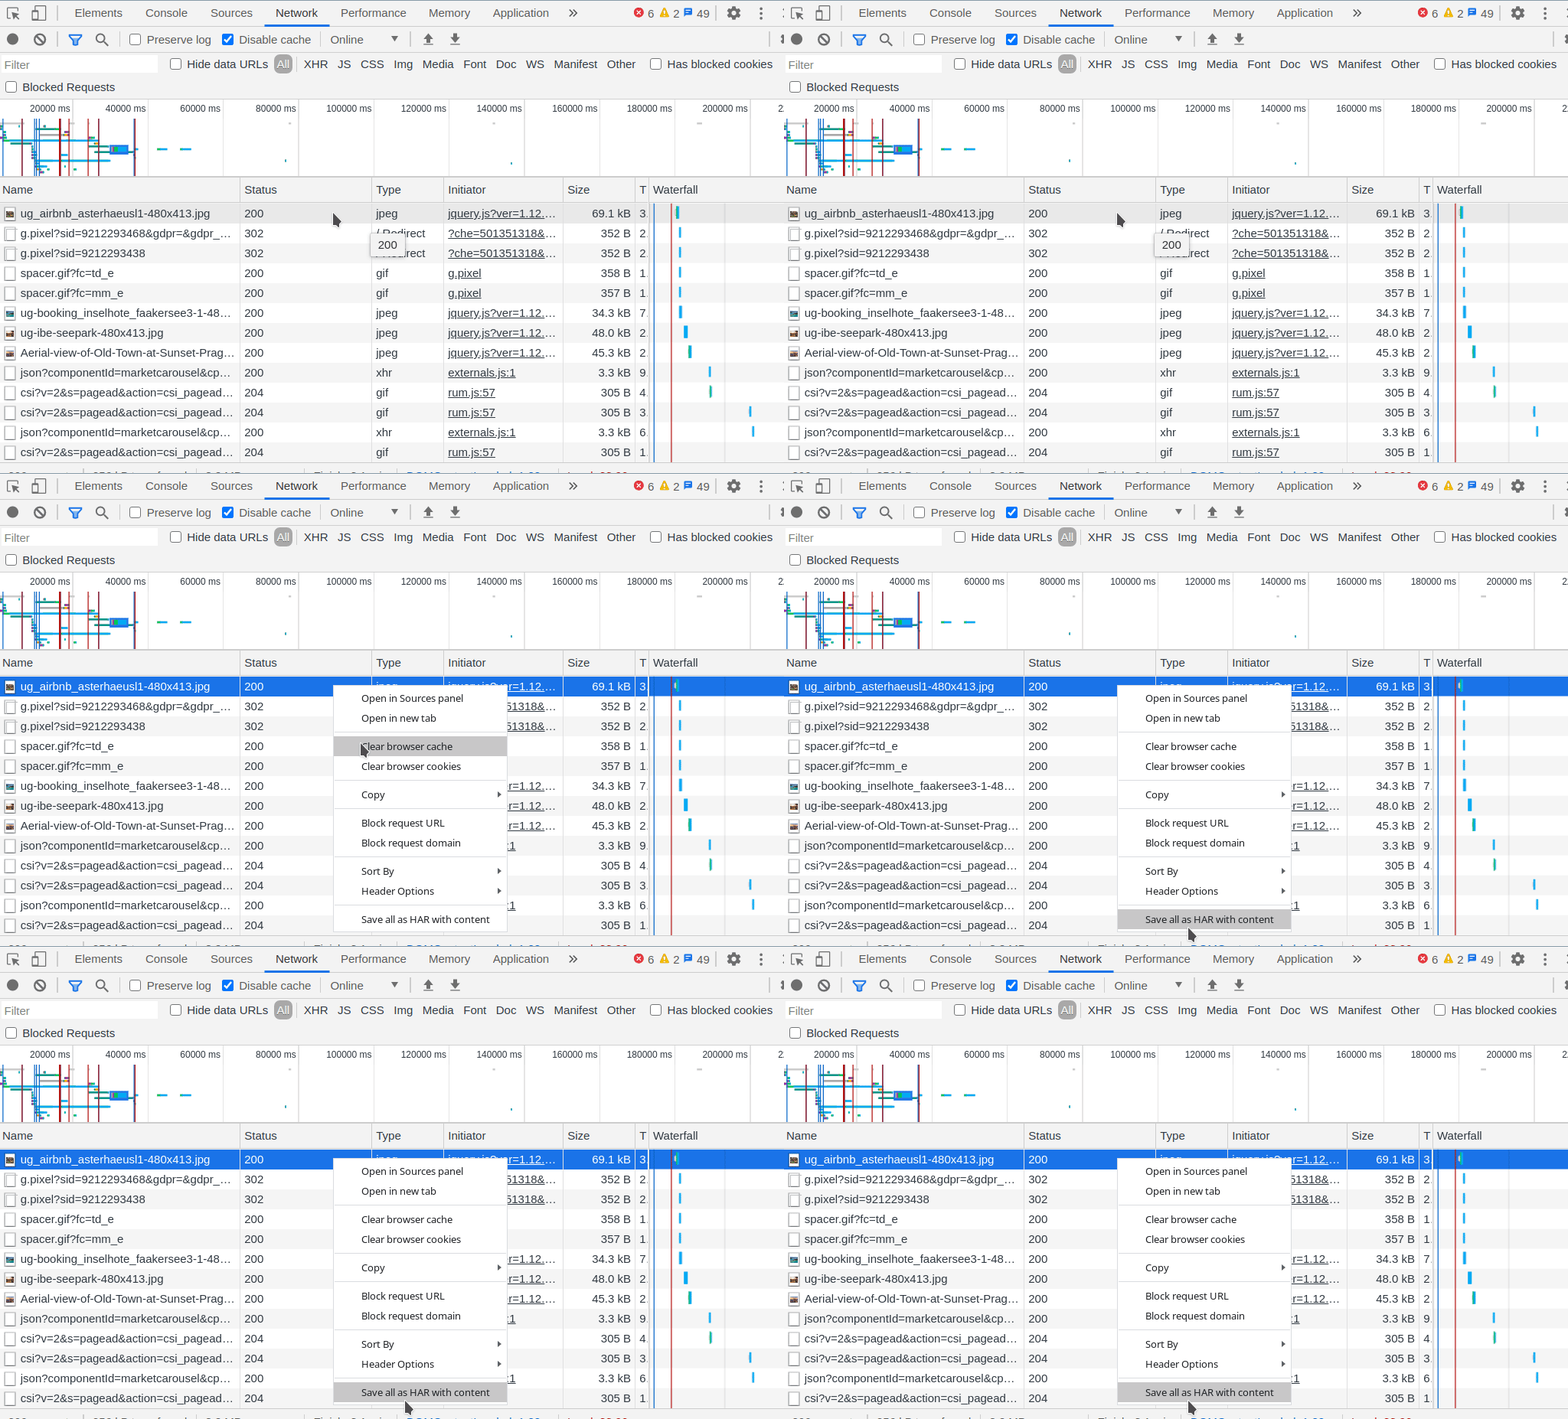
This file can be easily created using the "Network" panel in the Chrome Developer Tools.
Important: Please make sure that "Disable Cache" is enabled in the Developer Tools, otherwise you may get problems with resources that are already in the browser cache.
When you have the network panel open, reload the page. You may need to scroll the page once from top to bottom to ensure that all lazy loaded files are included in the HAR file. It makes sense to do the whole thing in the mobile view as well.
After that you can right-click on one of the server requests in the network panel and select "Save all as HAR with content".

We now have an HAR file which is usually a few megabytes large, depending on the website.
Hint: In the lower right corner of the Network panel you can see the size of all resources, this will be approximately the size of our Web Bundle.
Step 3: Generate the Web Bundle
To build our first "Web Bundle" we have to call the following command.
~/go/bin/gen-bundle -har urlaubsguru.har -o urlaubsguru.wbn -primaryURL "https://www.urlaubsguru.at/"
Important: The primaryURL parameter must match exactly the Request URL! For example, I forgot about the slash at the end and the Web Bundle file was no longer created.
Hooray! Our first Web Bundle should be ready now.
Step 4: Testing in the browser
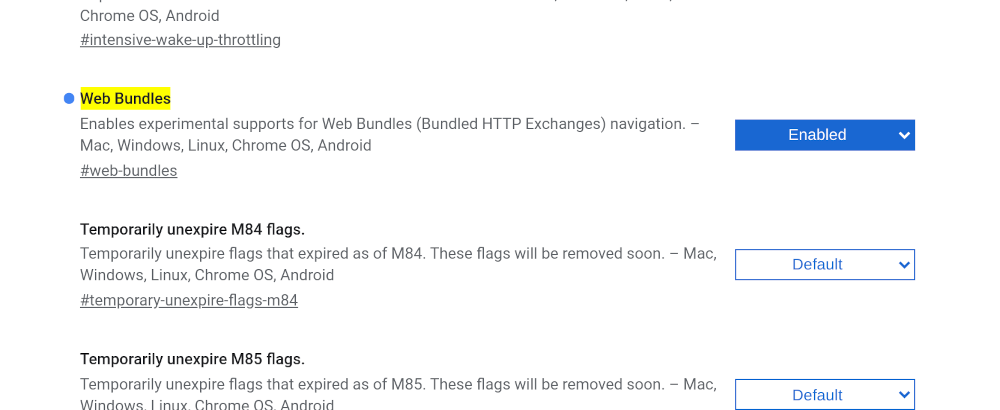
As already explained in the beginning, Web Bundles are still highly experimental and therefore we have to activate the functionality in the Chrome browser.
Enter the following line in your Chrome browser address bar.
chrome://flags/#web-bundles
At this address you can activate the feature and then you have to restart the browser.

Tip: As soon as you change the setting, a button "Restart browser" appears, but there is another possibility to restart Chrome. One which can be useful from time to time during development. Just type
chrome:restartinto the address bar and the browser will restart.
Now it should be possible to open the Web Bundle file in the Chrome browser. If the website is displayed that's fine, but that doesn't mean that everything will work offline. Chrome will try to load resources which are not in the bundle from the original URL. This also means that if you click on a link that is not in the bundle, the real website will open.
When you want to be sure that you have all the assets you need for the website included in the bundle, you can open the bundle after enabling the offline mode in the Chrome Developer Tools.
Save multiple pages.
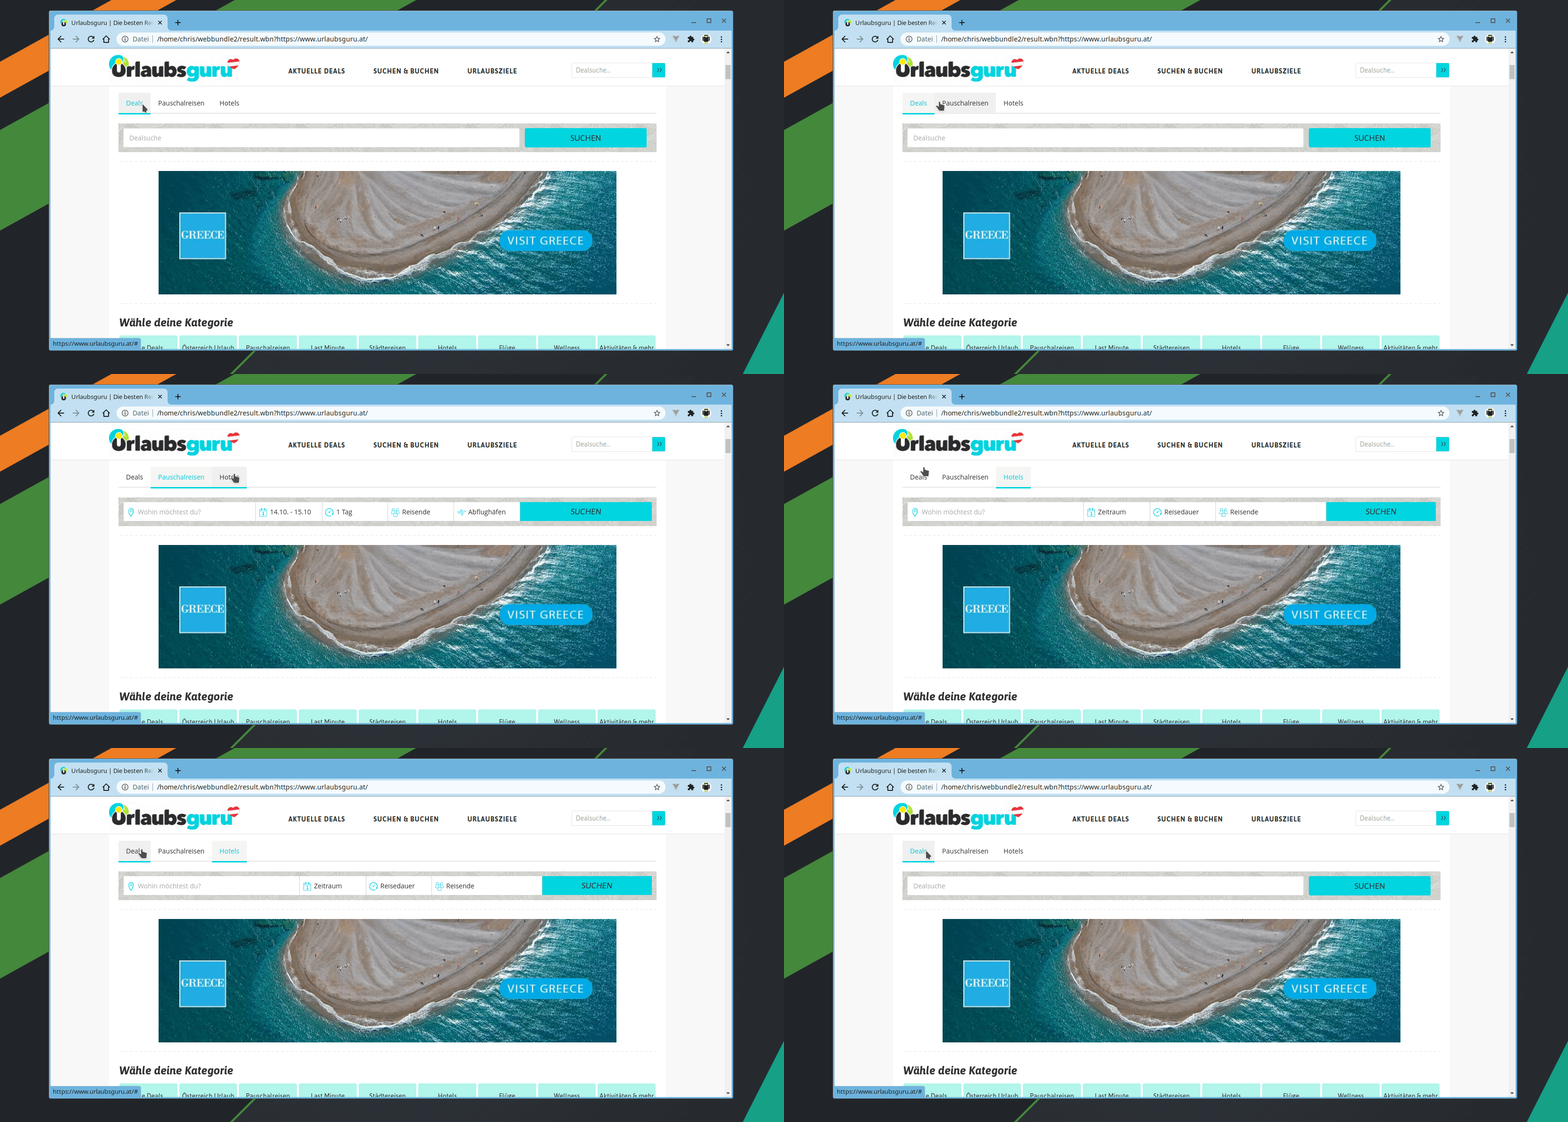
Now we have our first interactive screenshot. Animations for the slider works, we can test the behavior of the input fields and we can see how the images are lazy loaded when we scroll the page down.
But we can go one step further and save several pages into one bundle. So it will be possible to go from the start page to a detail page for example.
Unfortunately, the Chrome Developer Tools sometimes cause problems with generating HAR files for multiple pages. There is the option "preserve log" but it doesn't guarantee that all request responses will be saved in the HAR file.
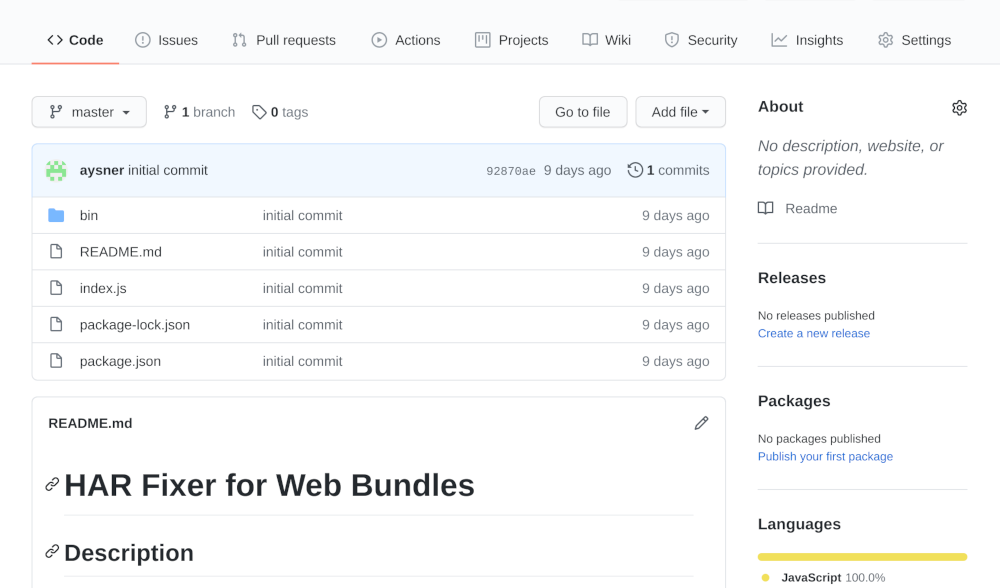
Therefore, I wrote a puppeteer script to fix the exported HAR file.
 https://github.com/aysner/harWebBundleFixer
To export a website with multiple pages, open the chrome developer tools. Clear the content of the "Network panel", activate "Preserve log", reload the website, capture all the requests and continue that for all the subpages which you would like to have included.
Save the HAR file and then run the harWebBundleFixer. This script tries to download all requests that have no response content in the HAR file and changes 302 status codes to 200. (304 is the code for "Not Modified" and these responses would be ignored by the gen-bundle application)
The harWebBundleFixer writes a new har file to the disk, this file can now be used to create the Web Bundle.
Closing words
There is far more potential in this technology than just "interactive screenshots". In the future this could open up whole new ways of distributing websites and webapps. Maybe via USB stick or P2P network? Furthermore, websites could be pre-loaded in the background by the browser and without JavaScript running, all necessary assets would already be downloaded at the moment the user clicks on the link.
To make sure that all this works safely, Web Bundles will get the possibility to be signed by the owner of a domain. Once a Web Bundle is signed it will run under the actual context of the website - so it can access all localStorage data, cookies and so on from the original domain.
This would also be a great option for distributing web apps that are already working without a server.
References